In the Azure portal, you can implement resource locks to prevent accidental or unauthorized changes to critical resources. Resource locks allow you to set a read-only or delete lock on a resource or resource group, preventing any updates or deletions from occurring. Here’s how you can implement resource locks in Azure:
- Log in to the Azure portal and navigate to the resource or resource group (1) you want to lock.
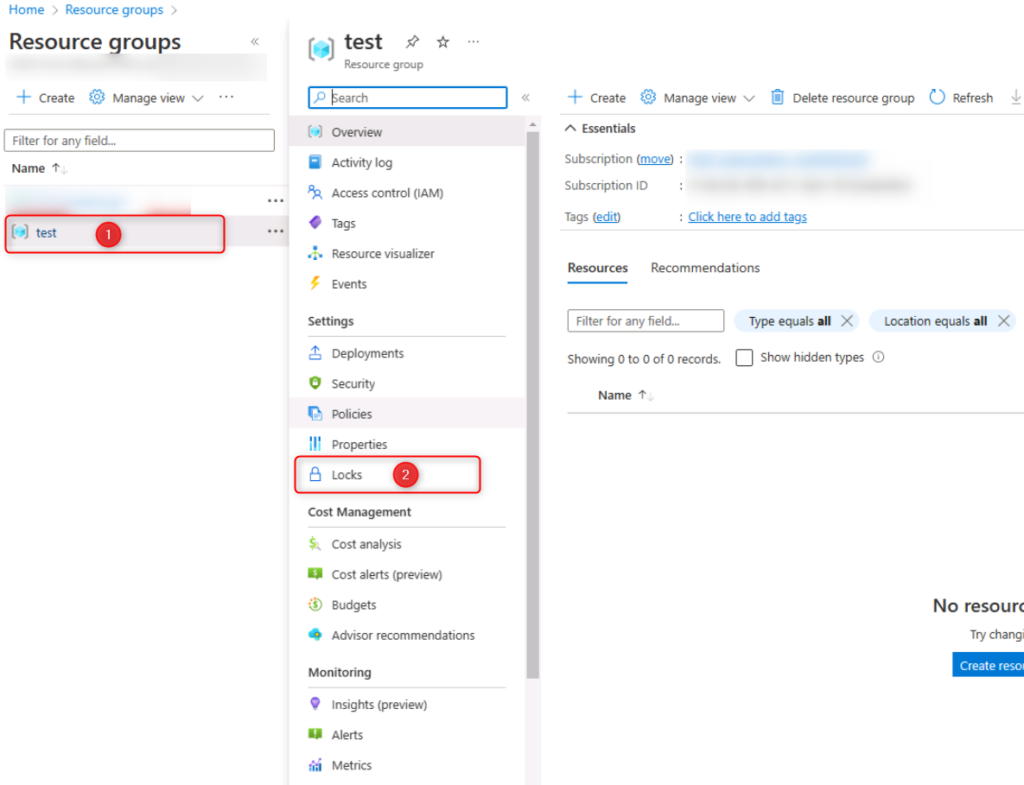
- Click on the “Locks” (2) option in the left-hand menu.
- Click on the “Add” button to create a new lock.
- Choose the type of lock you want to create: either a “Read-only” lock or a “Delete” lock. A read-only lock will prevent any updates to the resource, while a delete lock will prevent the resource from being deleted. (3)
- Give the lock a name and description so that others can understand the purpose of the lock. (4)
- Click on “OK” to create the lock. (5)

Once the lock is created, it will be applied to the resource or resource group, preventing any unauthorized or accidental changes.
Leave A Comment?